Wednesday, June 27, 2012

Zebra Stripes!!

Hello again! This is my second post today (I have been a busy lady!). Now this one is inspired by a photo that I found just searching images on Google.  See the inspiration image below:


What I love about this design is that it is not your typical zebra stripe design.  I love that the nail artist used a matte finish for the base and used a glossy finish for the stripes! So, I am taking this and tweeking it just a little.  I am going to use a black matte base, but I am going to use pink for the stripes! You can use any color though!


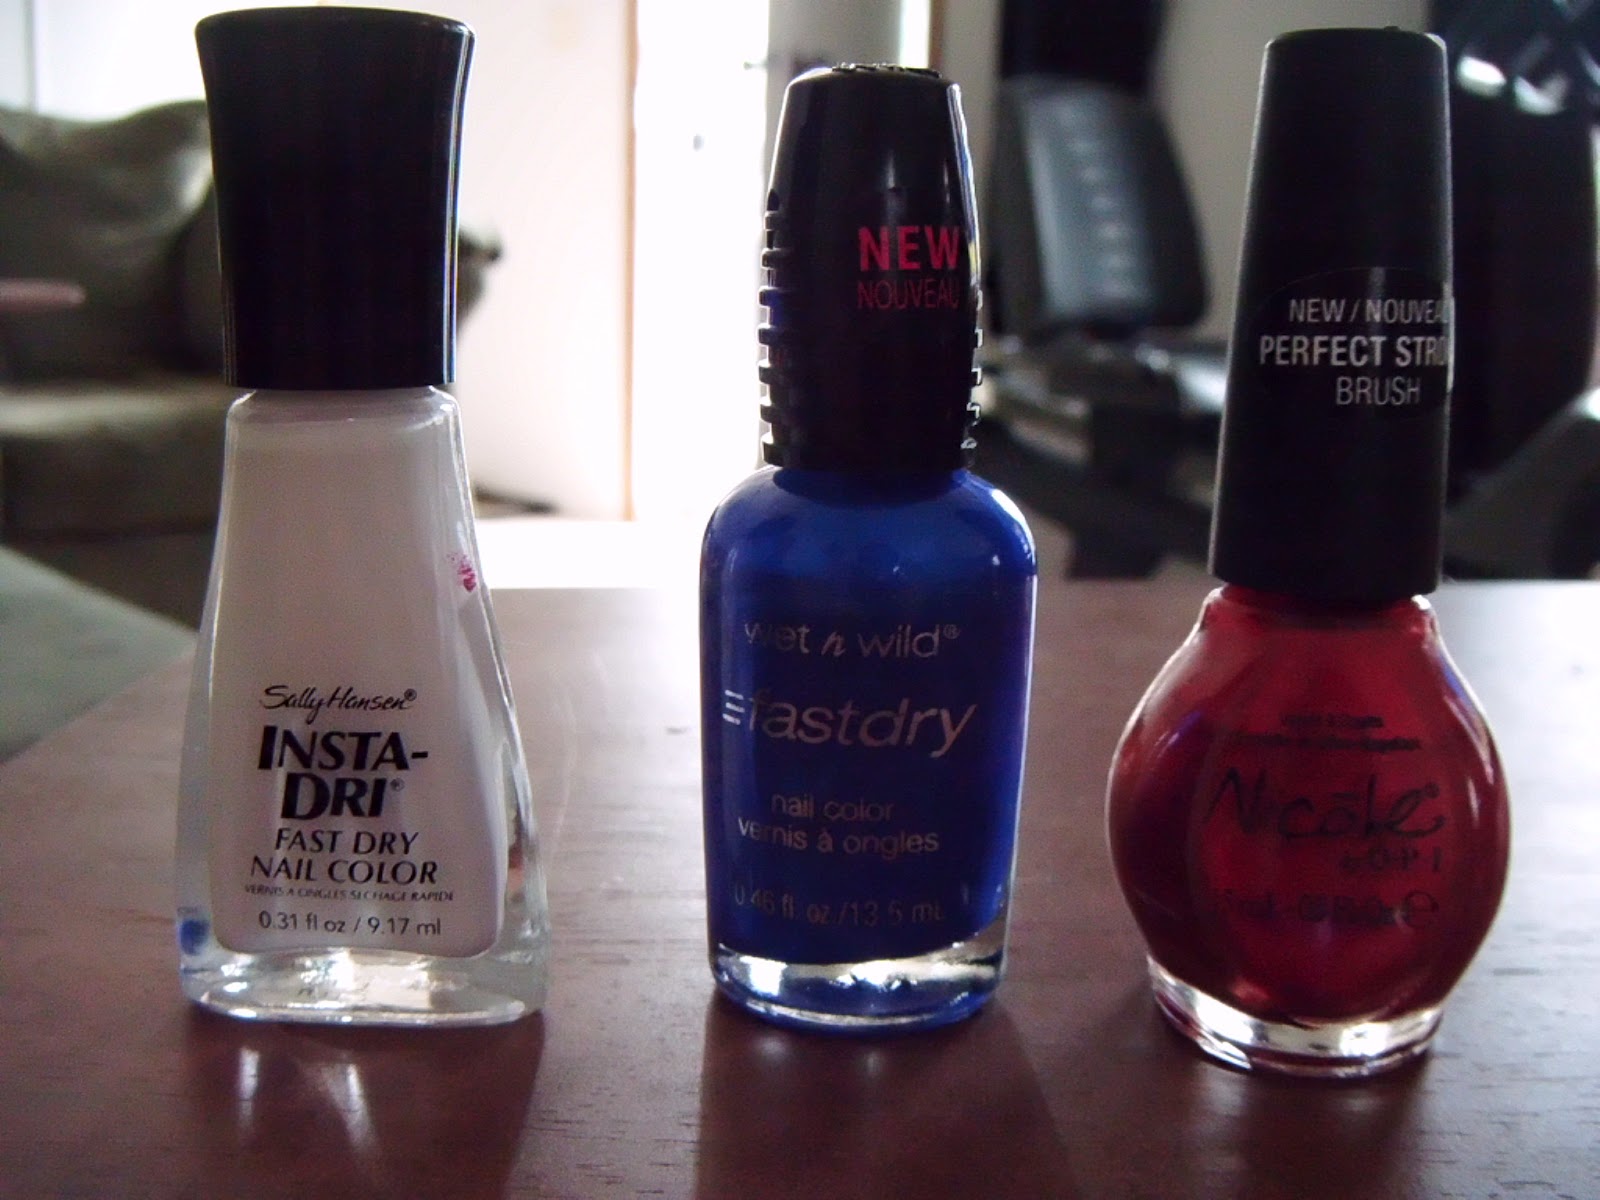
So here is the polish I am going to use.  I have a plain black polish, my matte top coat and a bright pink for the stripes.  Pretty simple!


First thing, paint your nails black. If you have a hard time painting your nails dark colors like this and can't clean up the edges of your nails well, I have a little tip for you.  Before painting your nails, take a little vaseline and rub it on the skin around your nail.  That way, when you are done painting your nails and the polish dries, the polish that gets on your skin will just wash off! 


Ok, next we want to put the matte top coat over the black polish.  It is hard to really tell from the picture, but this polish gives the black polish that great satin finish.  I highly recommend that you all go out and get some of this matte polish, you will not be disappointed!


Now comes the fun part! Take a skinny nail art brush or paint brush and start making zebra stripes! Now I can definitely tell you that the person who made the original design used a stamping tool to make her stripes. You can easily make this look work by free handing it!  If you are worried about trying it out on your nail the first time, practice by painting on a piece of paper first.  It doesn't need to be perfect though, it will look cool either way!


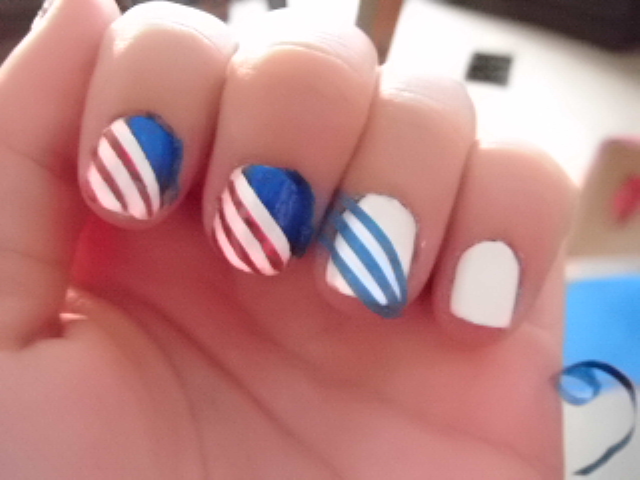
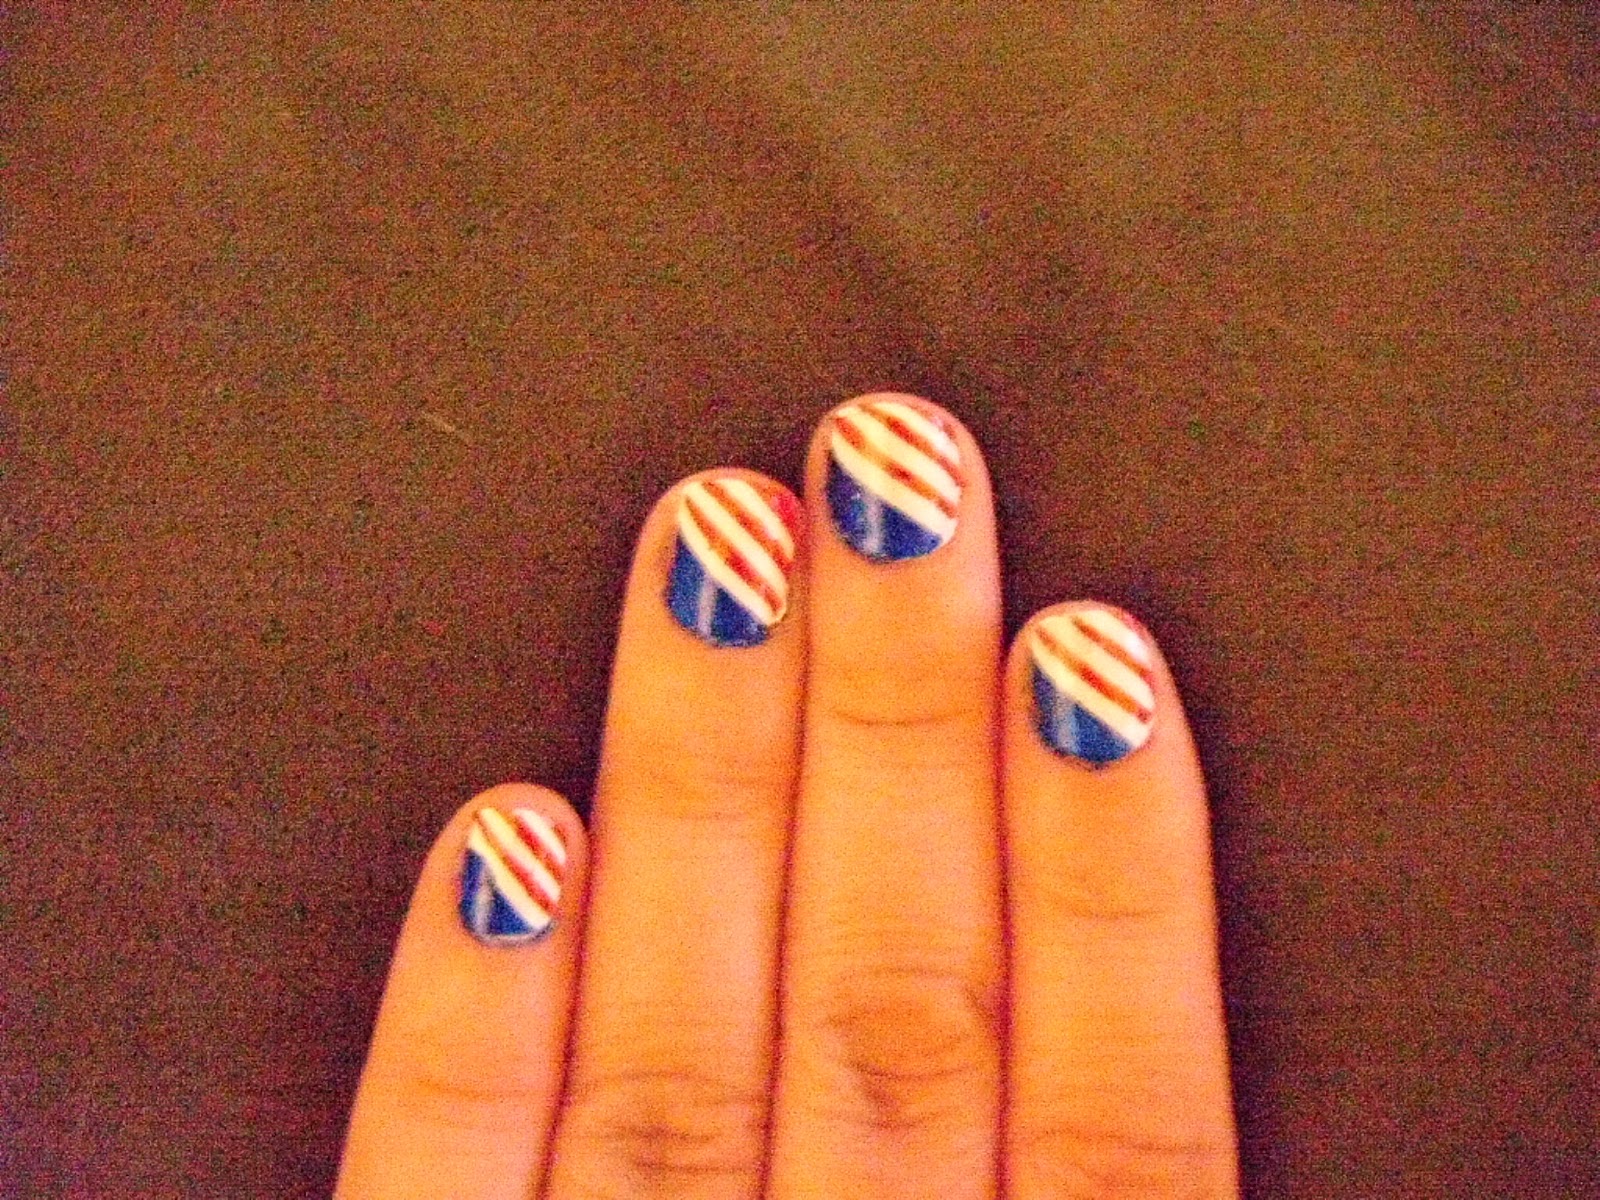
Here is the finished product! DO NOT PUT A TOP COAT OVER THE STRIPES! I say this because you will ruin the matte effect.  The matte finish was a top coat, so the design should still hold out for you :).  What I love most about this design is that it is subtle indoors in low lighting (so if you need a professional look for work, this is ok!) but as soon as you go out into the sunlight, the pink stripes stand right out!!  I hope you all enjoy this look!!


You Can't Go Wrong With Pink and Glitter!

Hi everyone! So, as you know I get most of my nail art inspiration by searching the web, and this post was inspired by a picture I found on Pinterest!

 (See this link for full details! http://www.dailymakeover.com/blogs/beauty-trends-and-news/instagram-inspiration-pastel-nails-last-hoorah.html?slideid=6&slideshowPaused=false)


pretty pastel nails with a pop of sparkle {love}
Now I kept seeing this nail design pop up on my Pinterest page, and I had to give it a shot! Now I will warn you, mine didn't turn out exactly like this picture, but it does channel all of the girly cuteness!

So, first things first, what supplies do you need? Well, I used a white polish for the base, pink for the stripes and I used silver glitter instead of gold. Also, you want tape so you can make the stripes.  Now I also tried a new technique that involved a ziplock bag (which I will get into later in the post) but this part is completely optional! OK, here we go!


Start with your white base.  This is pretty self explanatory!


Now, cut your tape strips to make the stripes.  You can use symmetrical stripes like me, or mix it up with different sizes, it is up to you! Once again, I am using painters tape, but you can use any kind of tape, just make sure that the white coat is COMPLETELY dry, or the tape will peel it right off!


OK, so once you have your nails taped, paint over them with the pink color (or color of your choice!).  I like the peel the tape off immediately after painting.  See the picture below to see my progress.


Notice that I left my ring finger blank.  This is because I am going to put a heart on this nail.  Now I know that the original shows stars, but lets be honest....I can't draw stars nearly as well as I can hearts! :)

So, now I am going to use one of my fine tip brushes and very carefully trace along the stripes with my silver glitter.  To be honest, I messed up on a couple of the them and they didn't look bad, so don't worry if they are perfect!

Ok, so here is what it looks like so far! The next part is where I experimented a little bit. Once again I was on Pinterest and I seen an interesting idea that I had to try.  Basically, this post said that you could paint little designs on a ziplock bag with nail polish, let it dry, then peel it off and stick it on your nail! (see the link http://www.ohsoprettythediaries.com/2012/04/manic-mani-monday-flame-manicure.html).  So I thought, this is genius! So, I thought I would try to make my heart design by this method.


So here is my ziplock bag with my little hearts that I made out of pink nail polish! I will say it was easier to paint them on a flat surface instead of my nails.  I also ended up adding silver glitter on the outside of the hearts.  Let me say that these take a while to dry....like half an hour.  I am also glad that I made extras because I ruined most of them when trying to peel them off.  Now I did get a couple to work, and all you do is stick them on your nail and paint over it with a top coat nail polish.  All in all, not a bad idea, but I need to practice on it some more.


So here is the finished product! Like I said, it is not as perfect as the original, but it came out pretty good and I did get a lot of compliments!  Enjoy!!

Thursday, June 21, 2012

Whew! You made it through that first post.  Now the fun begins!  Seeing how the 4th of the July is only a couple weeks away, I wanted to post something a little more patriotic.  I wanted to post it a little early so you had time to try it and practice it before the holiday actually gets here!


So, here is what I am working with:


Now to save time, I will tell you now that I ALWAYS use a base coat and a top coat every time I paint my nails.  You should use a base and top coat because it will protect your nails from getting damaged or changing colors as well as making your polish last longer! For today I am using red, white and blue polish (obviously!).


I decided to start with white as my base.  I did this because it is the lightest color and the other colors will easily show up over it.  Depending how thick your white polish is, you may need to do two coats. Let this polish dry completely!!!! That is very important because we are going to use tape (yes, tape) to make our lines.  If the polish is not completely dry, the tape will take the paint right off.  If you are busy and can't spend hours waiting for paint to dry, paint them at night and do the rest the next day :).


Ok, here is the fun part! Take some tape (any tape works, even Scotch!) and cut several strips to use.  I used painters tape because I had some laying around from an old craft I did.  The amount of strips you use on each nail depends on the size of your nail or how big you want your stripes to be.  We are going to paint the largest section on the bottom blue, and the stripes on the top red.  I like to peel the tape of each nail right after I paint it so the paint doesn't dry to the tape too much.  See the picture below to see my progress.


As you can see, it does get a little messy.  I promise you that this is nothing that a little nail polish remover and a q-tip can't take care of!  As you see, you can take the tape off and have straight lines! Clean up the edges and wait for the polish to dry before adding your top coat. You do not want to apply the top coat too soon because it will smear all of the paint together!


Here is the finished product! You can even add glitter polish to the top if you want!  I hope you like it!  Let me know if you have any questions!

Welcome! Here's the Basics....

Hello! Thanks for visiting my nail art blog! Most of you probably know me because we are Facebook friends! If you don't know me (and have stumbled upon my blog), my name is Jennifer and I live in Big Rapids, MI.  I have decided to start this blog because I LOVE painting my nails, and a lot of people ask me how I do my nails!

To be honest, I spend entirely way to much time online finding cute designs for my nails.  Usually, I get my inspiration from other blogs or websites and I attempt to replicate the design on my own nails....this usually turns out to be a disaster! After a couple of attempts I usually get a design that is similar to what I originally found.  So, for this blog I am going to focus on showing all of you how I make these designs simple enough that I (and yes, even you) can do it!

Ok, so to start I want to tell you how I am going to set up this blog (I know, boring right?).  Today I am just going to show you the basic tools that I use every time I paint my nails. When I start posting designs, I want to provide a link to where I received my inspiration (I have to give them nail artists credit!!), then I will get into step-by-step instructions to how I created the design myself.  I will even include pictures!! :)  I plan to make posts weekly (unless life gets in the way you know).

I also want you to send me your cute nail designs that you have done yourself or found online!  My email is jenniferldowell@gmail.com!

Ok, so here we go....Here is what I use for creating my nail masterpieces:

Ok, so this may seem like a lot of nail polish, but it really isn't!  I have seen some people online who have thousands of bottles.....and I don't even have 100!  I am really cheap and usually only buy nail polish if it is on sale! Plus, my husband would cut me off if I spent all of our money on nail polish!

The following are some products that I use faithfully!


These are the nail tools I use before painting my nails.  It is pretty straight forward, I have a tool to push back my cuticles, cuticle cutter (which I try to use as little as possible), nail clippers, a crystal nail file (I use this because I find it prevents my nails from splitting) and a nail buffer to make my nail smooth.


These are products I just recently started using.  The first one is called Cuticle Off, and it is a cuticle remover.  You just put some on your cuticles, let it sit for about 30 seconds and your cuticles practically wipe away! The other product is Nicole brand Drying Drops.  These are fantastic, you just put a couple of drops on each nail after painting and your nails dry to the touch very quickly!!  Now I want to show you some of my favorite polishes!


This is Sephora's Matte Finish Top Coat.  I LOVE this polish because I can put it over any color and it will make it a matte finish....you better believe you will see me use this product!


GLITTER!!  You can never have too much glitter nail polish....and believe it or not glitter is so back in fashion!


These guys are Kiss brand Nail Art polishes.  These are the polishes that come with the long skinny brushes that are used for stripes and other details.  They are about $6 for a three pack, but I got these ones on clearance at Walgreens.  I will let you in on a little secret....I normally use these brushes in my other nail polish colors and then just clean them off with nail polish remover!


These Perfect Tip nail tips are awesome! If you love a french manicure, but can never get it right....buy these!  They are great, and only like $1 at walmart!


Lastly, I have my tiny paint brush.  I actually do not use this brush for painting my nails (although I suppose I could!).  I actually use this brush with nail polish remover to touch up areas that q-tips can clean up!

Wow, this post got lengthy!  I feel that it was completely necessary though!  My next post will be a patriotic nail design to celebrate the 4th of July! Thanks for reading!!