Wednesday, July 18, 2012

Rainbow Dots!!

Hello! It seems like FOREVER since I have posted a new design (sorry!).  I actually did a few different nail designs this week (which you may have seen me post pictures of on facebook) but I was not very pleased with the results.  Until I can perfect those ones, I do have one I liked and would love to share with you.....rainbow dots!!  See the end result below:


I have always loved when nail designs incorporated dots....but I though I could never get that look without making a mess.  I came to find out that people use these "dotting tools" (see below), and these tools are supposed to make the perfect little dots on your nails.  This is great, but I could not find any of these tools anywhere....and I am not a fan of shopping online.

So, of course I was surfing pinterest the other day, and came across a DIY version of these dotters.  You can make one of these tools by simply taking a pencil with an eraser and sticking a nail or pin in the eraser!! You can vary the size of the dot by how big or small the nail or pin is! Here is where I got the idea:


Now, I could only find one size nail in my house, so I had to go with that, but I do plan to get some smaller nails so I can make smaller dots! Here is my version:


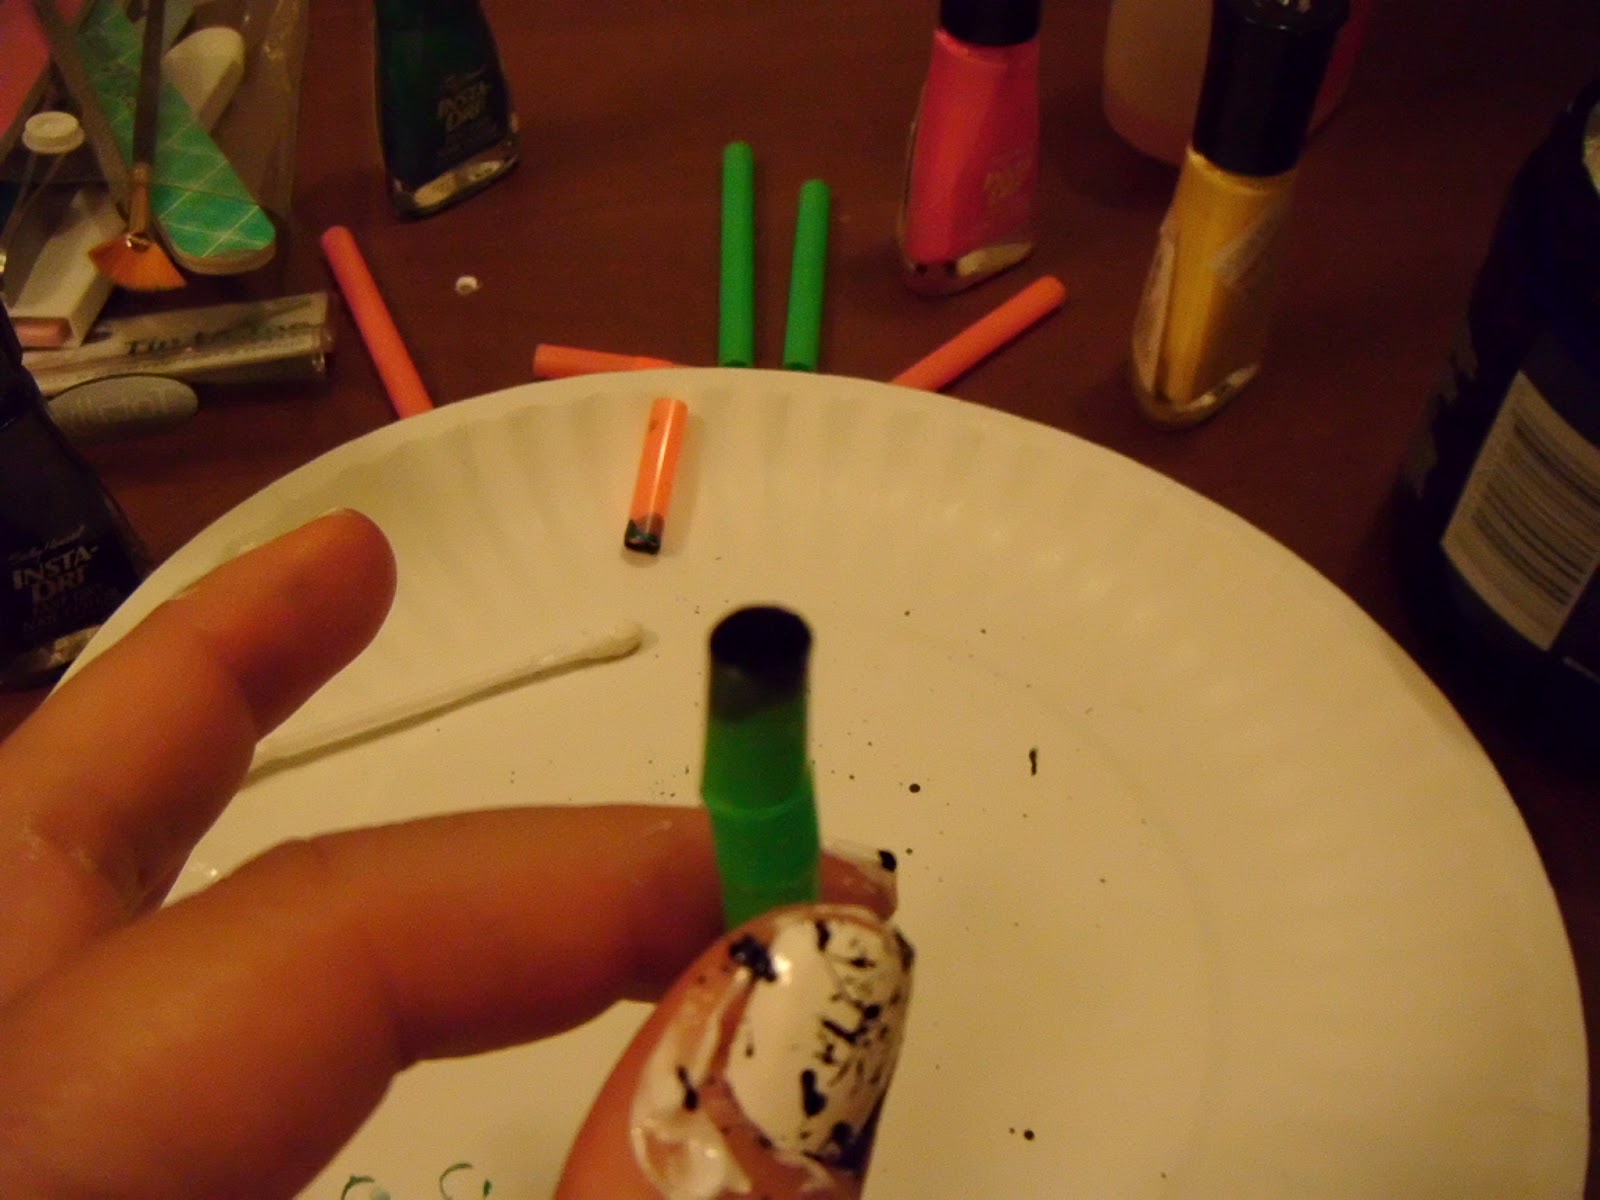
Ok, so to start this project I picked four nail polish colors. I decided to go with a summery rainbow effect.  I put a couple of dots of each of these colors on a paper plate so I could dab my "dotter" in the paint easily.  Now I decided I wanted to do a practice run on my plate so I knew how the dots were going to turn out before I started dotting my nails. 


Since I had a game plan I was ready to start! I started with a white base....surprise, surprise! :) I figured it would make the colors stand out more....plus it is so in fashion right now!! I then decided to start with the lightest color (yellow) and started making dots!


You will learn real fast how much paint you need for each dot and how much pressure to apply (this is why I suggest practicing on the plate first).  I found that I just needed to barely dip the nail into the paint, or else my dot was too big. Once I finished with one color I moved on to the next:


You see where this is headed...once you are done, wait for it to dry!! I am talking seriously dry, or else when you put your top coat on, it will smear all of the dots, and all of your hard work for neat dots will go down the drain!!  Here is the finished result!

Sunday, July 8, 2012

Sparkly Nails!!

Ok, so what girl doesn't like a little sparkle every now and again??  Today's post is all about sparkle, and this is a design that I have been doing on my own nails for a long time now.  It is super cute and super easy! See the finished product below!


It is hard to tell, but it is a royal purple nail polish with silver and pink sparkles that gradually go from the bottom of the nail to the top of the nail! Here are the polishes that I used:


So I first applied the purple base.  This is pretty straight forward.

Once that color dried, I started to apply my glitter.  I like to use two different glitter polishes because it gives it a nice gradient effect.  I started with the silver glitter but dabbing a little at the base of the nail.  I wipe off any excess polish from the brush and slowly brush the glitter up so it fades as it reaches the top of the nail.


Now I take the pink glitter and do the same thing. The pink glitter that I used was a bigger glitter than the silver (if that makes sense), so it gives a cool effect.


When it is all dry, you add a top coat, and you are done! My pictures do not do them justice on here, so I will post a new one on my facebook page when I get a good one!  Enjoy!


Paint Splatter Nails!

Hello! I hope everyone had a great 4th of July! I know I was busy!  So, for this blog post I am doing a paint splatter nail design.  Here is what the finished product looks like:


It is pretty cool! I wore this design all week and got tons of compliments.  People kept asking if I used that crackle nail polish, and were shocked when I told them how I did it!  Here is where i got my inspiration:

Adorable!!

Ok, so here are the supplies that you need to do this design.  You need different colors of nail polish (I used 4 different colors, but you can use how ever many you want.), straws, a paper plate, lotion or vaseline and a paper plate.  For some silly reason I forgot to take a picture of all of my supplies....sorry!

So, for my first step I applied white polish as the background polish. You can use any color you choose but white really helps the colors pop! After the white polish dried, I applied lotion around my finger nails on my finger tips so that it would be easier to remove the excess nail polish when I am done.

(As you can see I only did it right around my nail....I recommend covering more of your finger!) Ok, so now take one of your straws and cut into half or thirds, which ever is easier for you to work with.  A shorter straw works a little better.  Now take which ever color you want to start with and drip a little bit of the polish inside of the straw.  The site that I got these instructions from said to dip the straw into the paint, but I found dripping some paint into the straw worked better.


Now, here is where it gets a little messy.  While holding your hand over the paper plate, blow on the straw (the end without the paint, haha!) and the paint should splatter across your nail! Do this with each nail, then switch the color and do it again! (I recommend switching straws for each color used).  WARNING! This will get messy!!


So now comes the fun part....clean up! These layers of polish will take a while to dry and you don't want to put your top coat on until it is dry or it will smear. So, while I waited for them to dry, I started to clean up my fingers. I started with q-tips and eventually cleaned up larger spots with cotton swabs, but it should come off fairly easy because of the lotion or vaseline that was applied in the beginning.  Clean up took about 15 minutes for me!

Here is the finished result!

Enjoy!!