
It is pretty cool! I wore this design all week and got tons of compliments. People kept asking if I used that crackle nail polish, and were shocked when I told them how I did it! Here is where i got my inspiration:

Ok, so here are the supplies that you need to do this design. You need different colors of nail polish (I used 4 different colors, but you can use how ever many you want.), straws, a paper plate, lotion or vaseline and a paper plate. For some silly reason I forgot to take a picture of all of my supplies....sorry!
So, for my first step I applied white polish as the background polish. You can use any color you choose but white really helps the colors pop! After the white polish dried, I applied lotion around my finger nails on my finger tips so that it would be easier to remove the excess nail polish when I am done.

(As you can see I only did it right around my nail....I recommend covering more of your finger!) Ok, so now take one of your straws and cut into half or thirds, which ever is easier for you to work with. A shorter straw works a little better. Now take which ever color you want to start with and drip a little bit of the polish inside of the straw. The site that I got these instructions from said to dip the straw into the paint, but I found dripping some paint into the straw worked better.
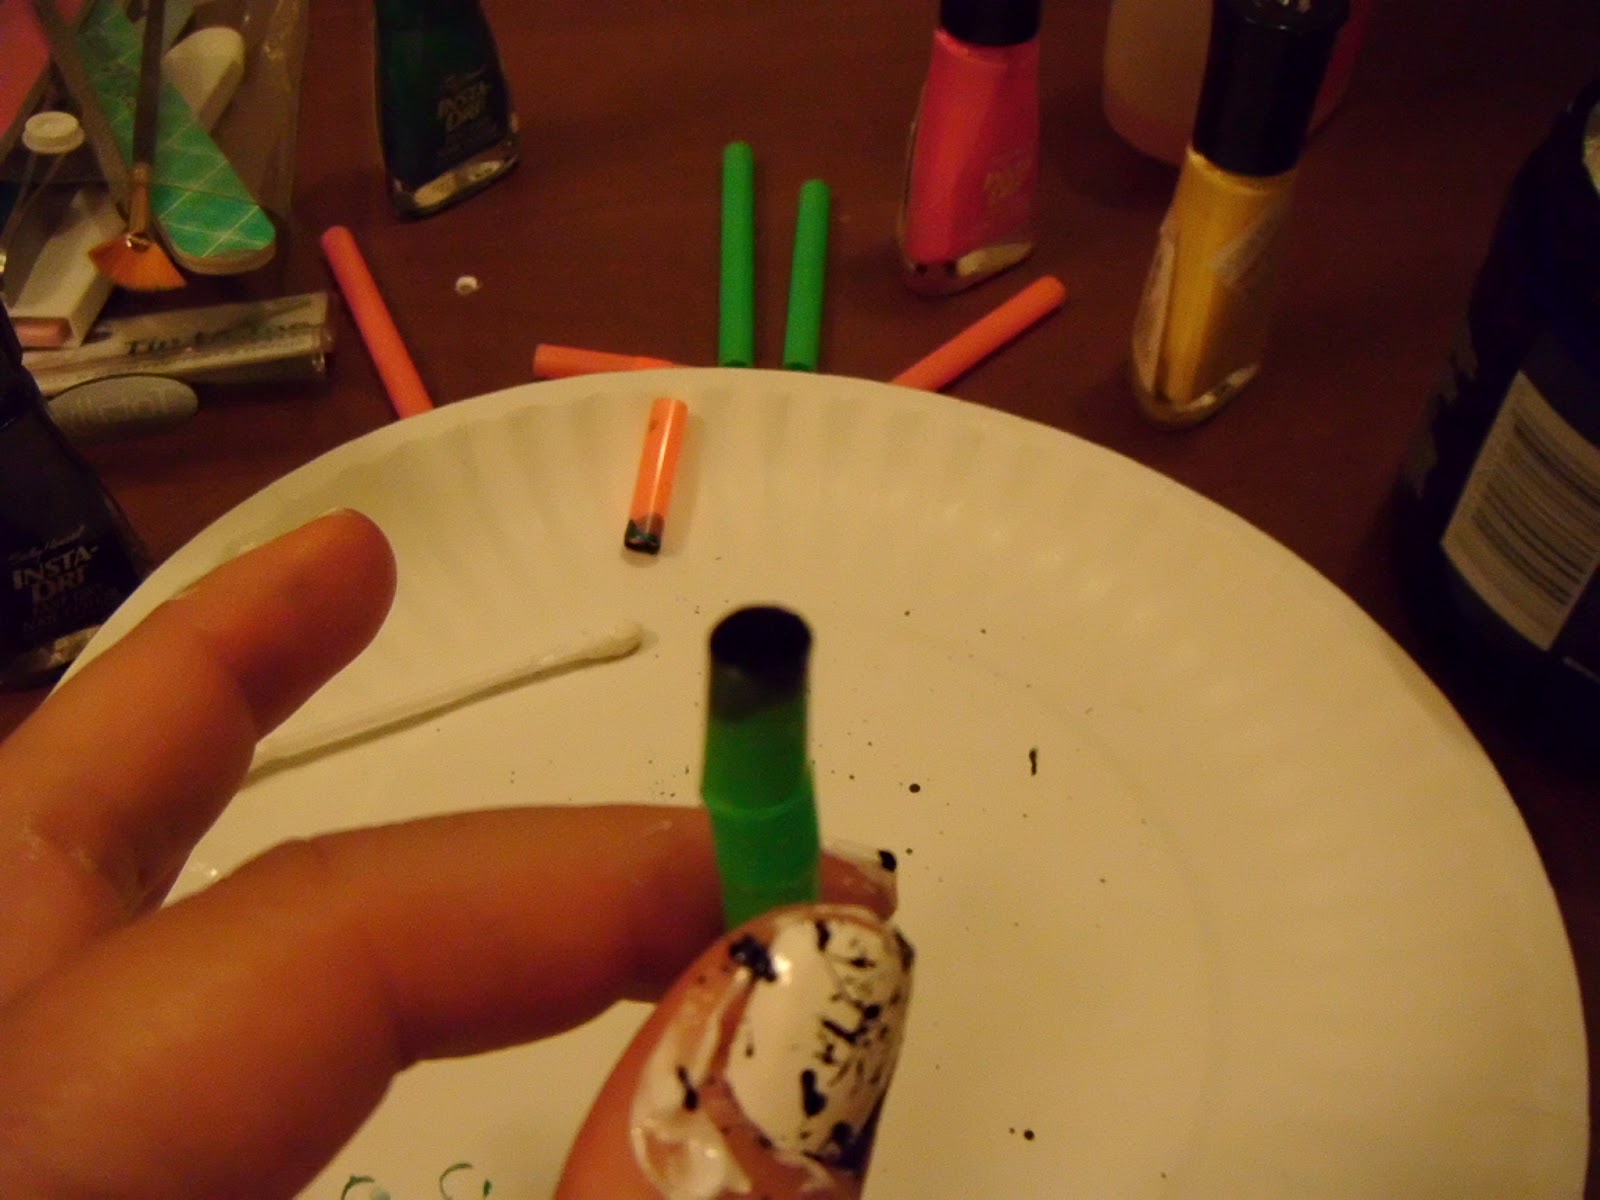
Now, here is where it gets a little messy. While holding your hand over the paper plate, blow on the straw (the end without the paint, haha!) and the paint should splatter across your nail! Do this with each nail, then switch the color and do it again! (I recommend switching straws for each color used). WARNING! This will get messy!!


So now comes the fun part....clean up! These layers of polish will take a while to dry and you don't want to put your top coat on until it is dry or it will smear. So, while I waited for them to dry, I started to clean up my fingers. I started with q-tips and eventually cleaned up larger spots with cotton swabs, but it should come off fairly easy because of the lotion or vaseline that was applied in the beginning. Clean up took about 15 minutes for me!
Here is the finished result!

Enjoy!!
No comments:
Post a Comment